What Goes Into Plate Carrier Setup?
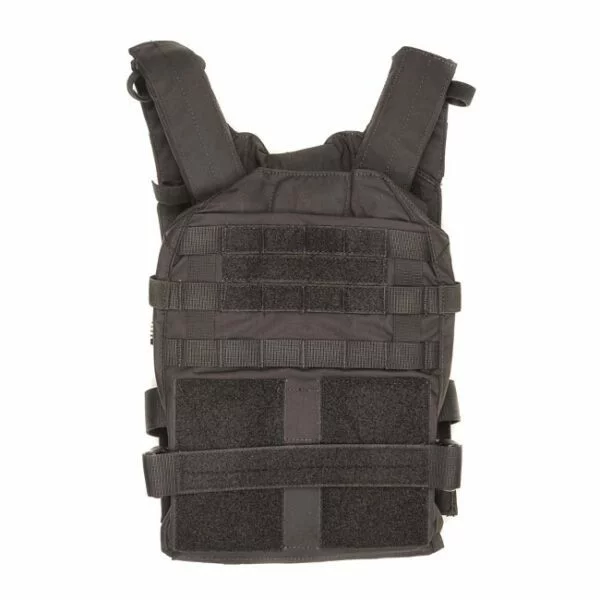
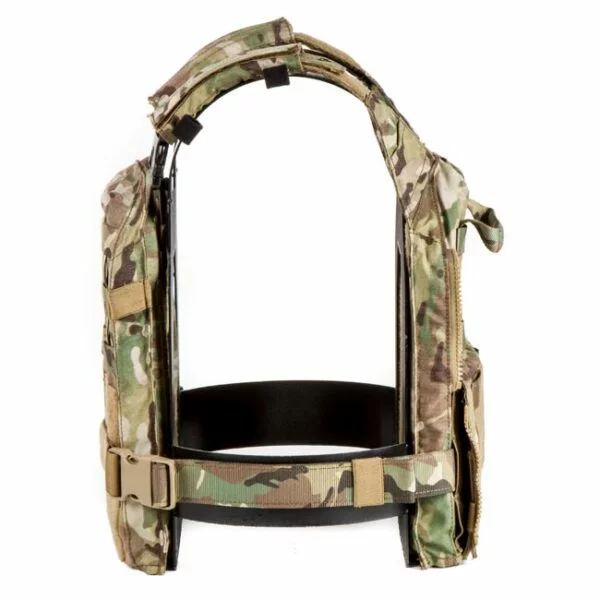
You just got issued a plate carrier. Or maybe you’re setting up your first personal rig. Either way, you’re staring at a pile of straps, pouches, and plates wondering where to start. For starters if your are in Law Enforcement your Agency is likely going to have a required list of equipment and experienced training officers to give you direction on what and where to put your gear. So this article probably isn’t for you. The internet’s full of “tactical experts” showing off their Instagram-ready setups with more gear than a deployment to Fallujah. But here’s the thing: a good plate carrier setup isn’t about looking cool. It’s about keeping you protected, mobile, and able to do your job. Let’s break down what actually goes into building a plate carrier setup that works. The Foundation: Choosing Your Plate Carrier Before you start strapping pouches onto everything, you need the carrier itself. What to look for: Your plate carrier has one primary job: hold your armor plates securely against your body in the right position. Everything else is secondary. Key features that matter: What doesn’t matter as much as you think: I’ll be the first to admit: there are a hundred good carriers on the market. The “best” one is the one that fits your body, holds your plates securely, doesn’t fall apart after six months and fits your budget. The Core: Armor Plates This is where your protection actually comes from. The carrier is just the delivery system. Front and back plates: At minimum, you need rifle-rated hard plates front and back. For most law enforcement and civilian applications, that means NIJ Level III or III+ rarely Level IV (The updated threat levels are now RF1, RF2 & RF3, respectively). Not sure which level you need? Here’s the simple version: Most patrol officers, SWAT teams, and responsible civilians running a carrier are well-served by Level III or III+. If your threat environment includes armor-piercing ammunition (federal agents, high-risk warrants, military), step up to Level IV. Material matters: Price is the biggest factor in what materials go into plates. Steel, ceramic, HDPE, composite all have trade-offs. Steel is heaviest but the least expensive. Ceramic or composite (a mix of a ceramic strike face with HDPE backing) is the most common in level III+/RF2 plates. HDPE is lighter but more expensive and can typically only stop non-armor piercing threats. Side plates: There are 2 options here: Level IIIA soft panels for frag and pistol protection and hard 6”x6” plates to increase rifle protection from oblique angles. Both options increase weight and restrict your movement so you need to consider the cost benefit analysis on if the marginal increase in protection is worth it. When to consider running side plates: When you may not need them: Be honest about your actual mission needs while evaluating your options. Load-Bearing: Pouches and Accessories Your plate carrier should carry the mission-essential gear you might need in the 5–15 minutes between contact and either resolving the situation or getting to your vehicle/backpack/long-term kit. These are some of the most common items you’ll find on the professionals: Magazines – This one’s obvious. Most setups run 3–4 rifle mags and 2–3 pistol mags on the front of the carrier. Put your rifle mags where you can reach them without looking or thinking. IFAK (Individual First Aid Kit) – God forbid you or your partner take a hit, you need immediate access to a tourniquet, chest seal, and pressure dressing. Many people run this on the back of their belt or plate carrier. Communication – Radio pouch and PTT (push-to-talk) placement depends on your radio type and whether you’re running a headset. Utilities – Small admin pouch for chem lights, zip ties, sharpie, whatever small essentials your job requires. Don’t go overboard. Knife – It’s also common to see people carrying a blade that can be easily accessed from their plate carrier or on their belt. In both cases it will be forward of the hips. Stop here and ask yourself: Do I actually need anything else on this carrier? Other gear to consider: You can always add later. Start light. Train with it. Add only what you find yourself actually reaching for. Fit and Adjustment: The Part Most People Get Wrong You can have the best plates and the best carrier, but if it doesn’t fit right, you’re setting yourself up for either inadequate protection, a back injury or gassing out before the fight is over. How your carrier should fit: Front plate position: The top edge of your front plate should sit in the “jugular notch”—that little dip at the base of your throat between your collarbones. This protects your heart, lungs, and major vessels. If the plate is too low, your cardiac box is exposed. Too high, and it willb e hitting your chin or choking you. Back plate position: Should sit roughly level with the front plate. Some people run it slightly higher to protect the shoulder blades, but you don’t want it sitting on top of your shoulders creating a pressure point or slumping too low to expose the top of your lungs. Shoulder straps: Snug but not cutting into your traps. The weight should distribute between your shoulders and the cummerbund around your torso. It should not hang loose on your shoulders. Cummerbund/side closure: Tight enough that the carrier doesn’t shift or bounce when you move, but not so tight you can’t breathe or bend. You should be able to take a full deep breaths. Imagine you are running or fighting and you can’t take those deep full breaths. Test this out. The test: Put your carrier on, do 10 burpees or a couple short sprints then check if anything shifted. If your plates moved or the carrier rode up, tighten it. If you can’t breathe, loosen it. Armor only works if you’re actually wearing it when you need it. You need to get accustomed to wearing it for long periods of time.